I got a lot done today. I sprayed expandable foam in the side wall to fill any gaps left from the replacement wood. The back base wood 2x2 was replaced by screwing it into the aluminum frame.
I prepped the replacement treated and sealed plywood back panel using an indoor/outdoor berber in a nice brownish shade. I tried this spray adhesive but ended up having to use liquid nails.

My father in law helped me secure the back panels using L brackets.

This is it from the inside. I still have yet to replace the floor under there but that back panel looks nice!

Remember...this was the old panel I ripped out - horrible.

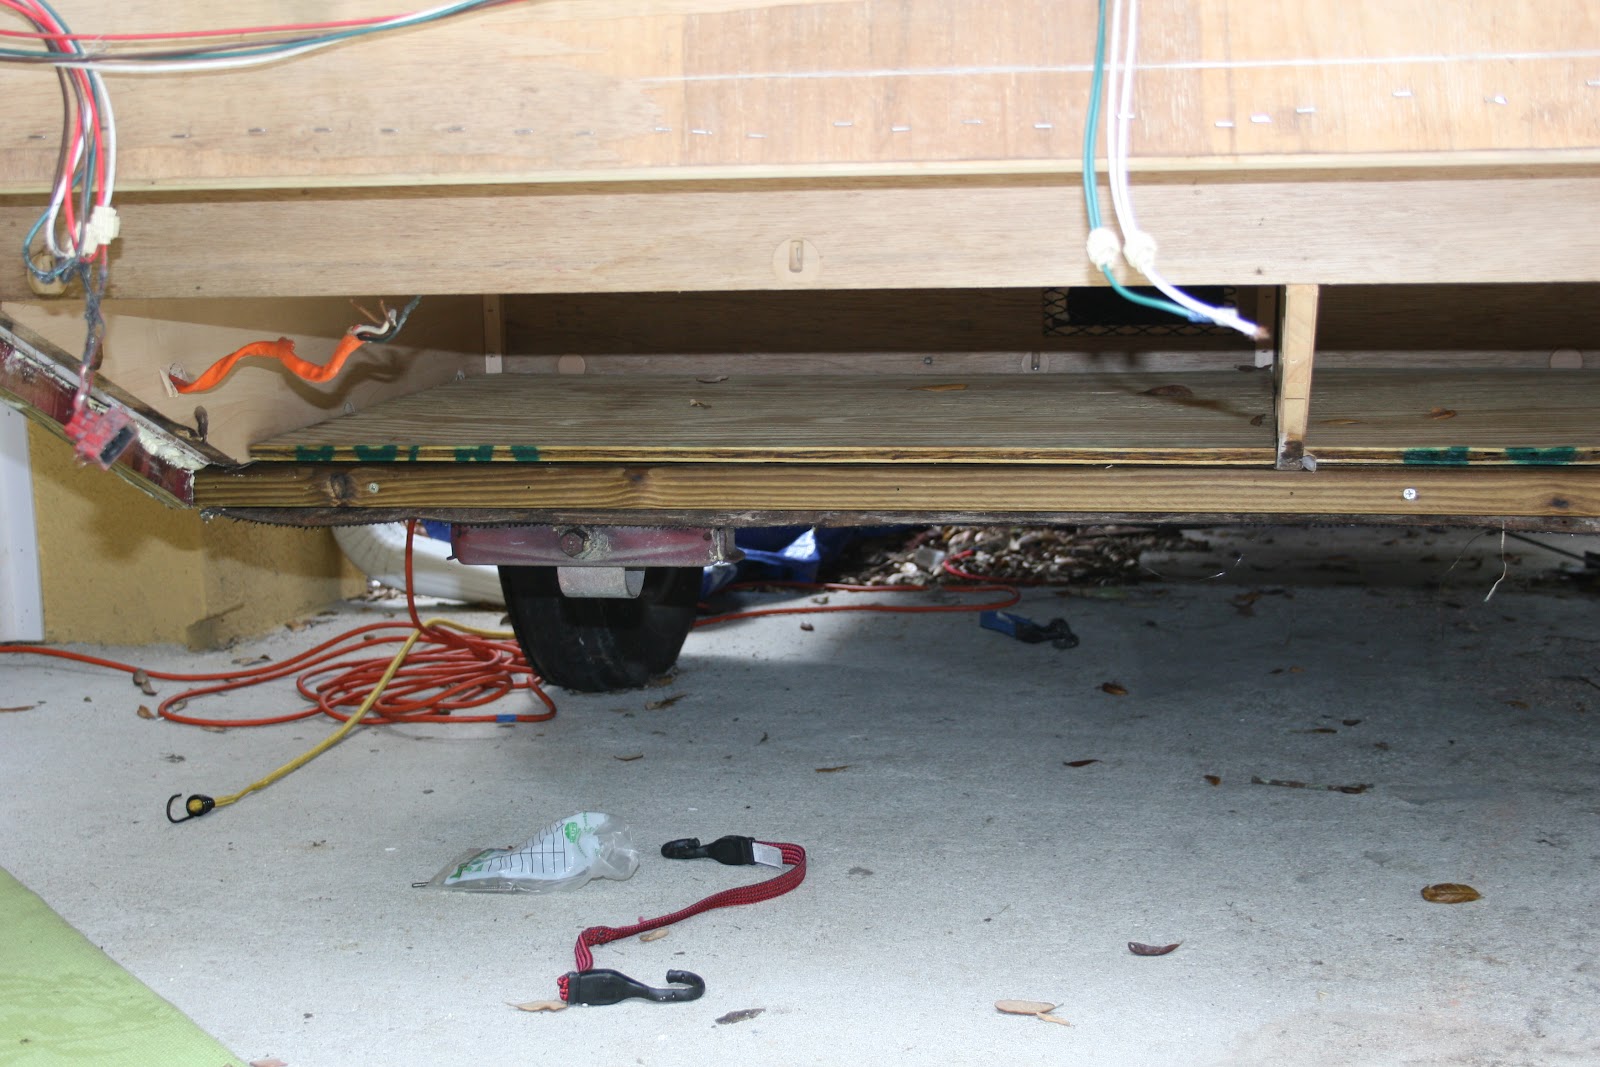
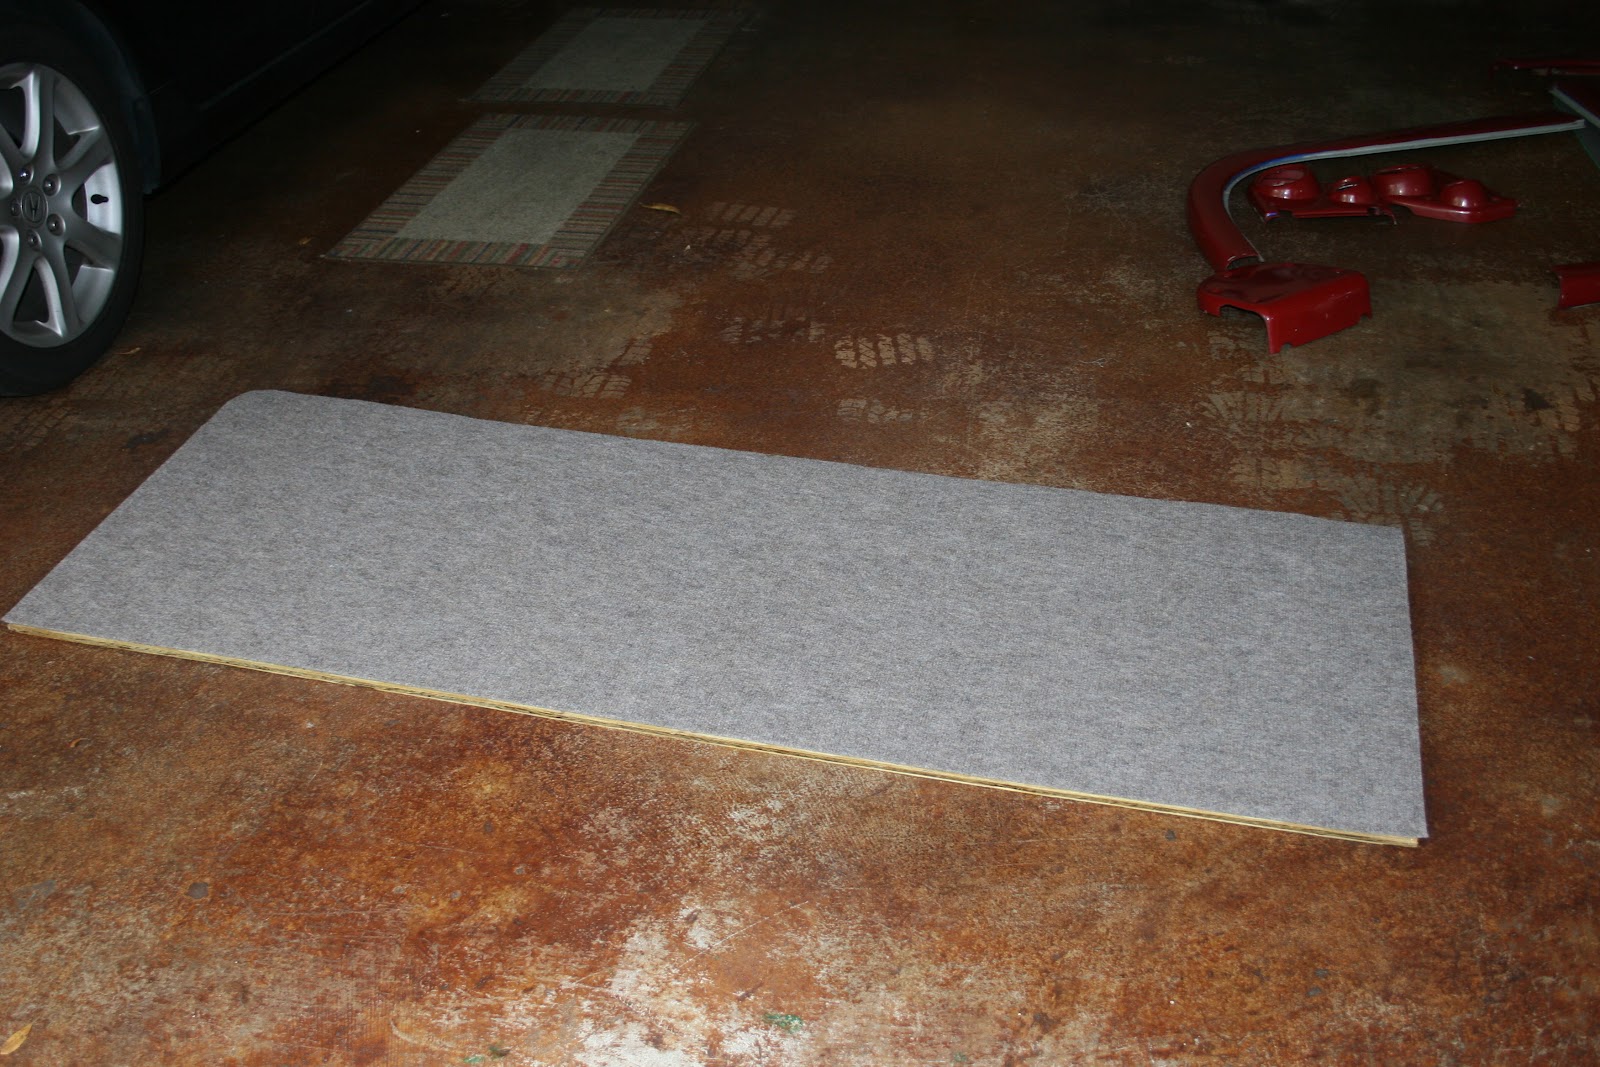
And the floor...I have plywood cut to cover this but haven't installed it yet.

Old view from inside...that is the ground you see out there beyond the cushions!

--------------------------------------
I will most likely need to unscrew the back panel for a bit to secure the aluminum panel back to the outside but I waited to do this so I would have the positioning right.
Also I'm already thinking about the bunk mod I want to do to add a detachable bunk bed in front of the back cabinets. I found some examples on line, but the frame of my seating is set up differently so I'll have to come up with a modification for that mod.
Thursday or Friday Little Guy is delivering my new roof! Hopefully I will get it on next weekend. I can't wait to tell you about the idea we came up with to brace some of the wooden ribs in the roof to keep them from bowing inward.
No comments:
Post a Comment